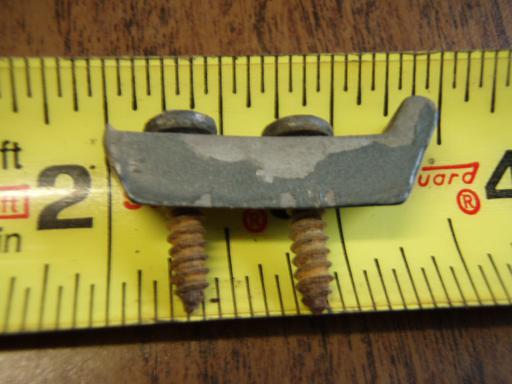
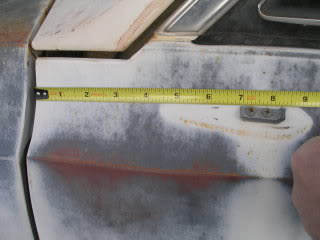
This template is self explanatory. Simply print and cut it out making sure you dimensions are 9 ¼ X 3 ½. Next align it along the body line shown at the top and the front edge of the door. Tape it securely and center punch the two drill points. Now drill two 0.136" diameter holes. Using two sheet metal screws (as shown in the pictures below) mount the mirror using the rubber gasket and you are done. To mount a right hand mirror, lay the template face side down (note front & top) and repeat the process. Make sure that your mirror does not interfere with your vent window and that you have a clear field of vision before drilling.
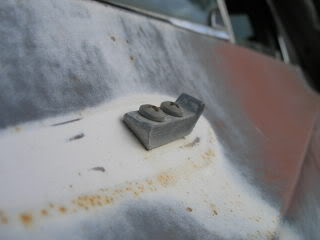
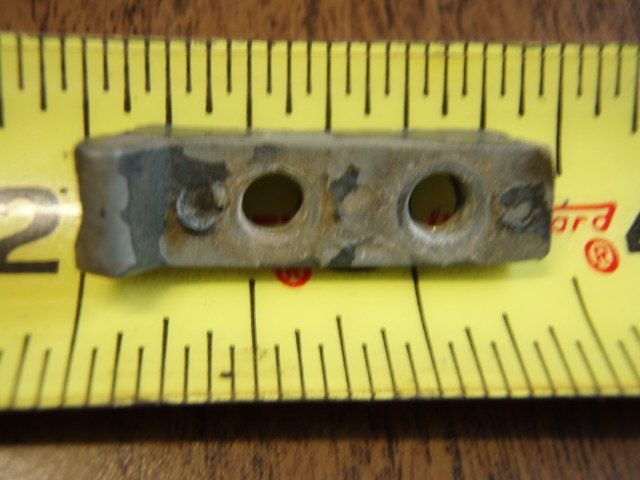
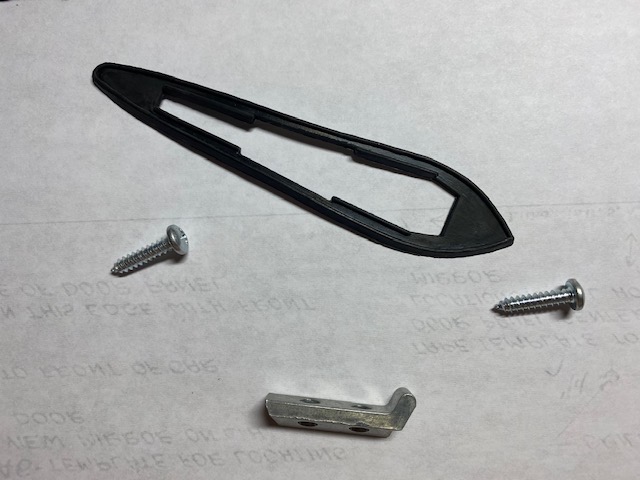
The mount shown below is an original. Some newer mounts are made from bar stock and simply bent up at the ends. This allows the front of the mirror to lip under the front and the rear set screw to be forced down as it tightens the mirror to the door.
If you have a good tip, share it with all of us. It WILLbe appreciated.
Take clear pictures and document them.
TO PRINT: Right click the image and choose "save image as". Save it to your desk top or any location of your choice. Next go to the saved image and double click it. Now go to the top of your screen and choose "File".... go down to "Print" Once it's printed, verify the measurements, cut it out and you are ready to go.
Below is a new "Right Hand" mirror and accessories purchased from Fusicks
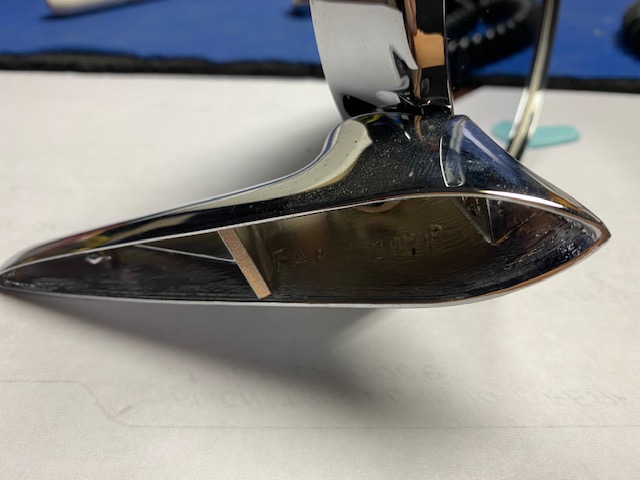
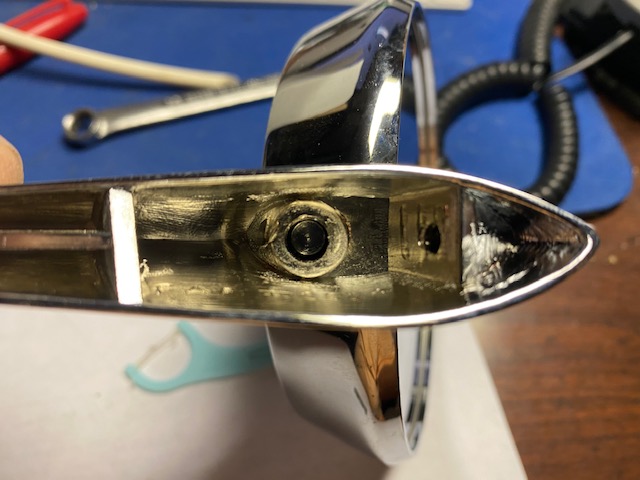
Notice the ramp on the rear side of the mount that the set screw slides down to snug the mirror.
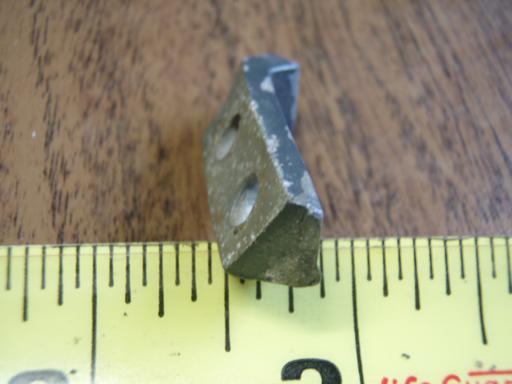
Look closely to see the 45 degree angle on the front of the mount.