 | ||||
| ||||
| ||||
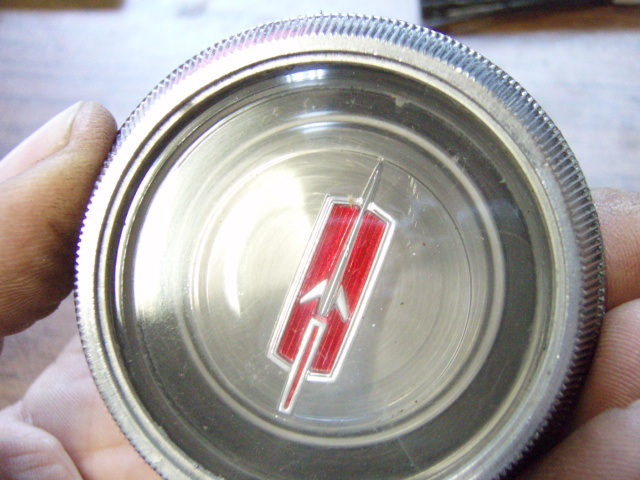
Have you ever wondered how to get your center cap back together and have everything correctly aligned? It can be harder than it looks.
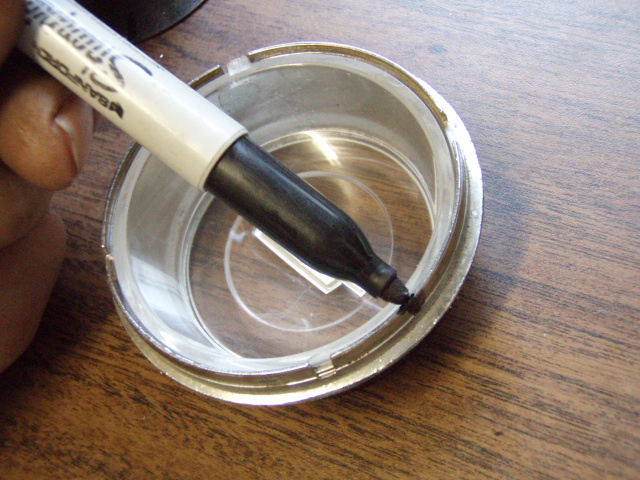
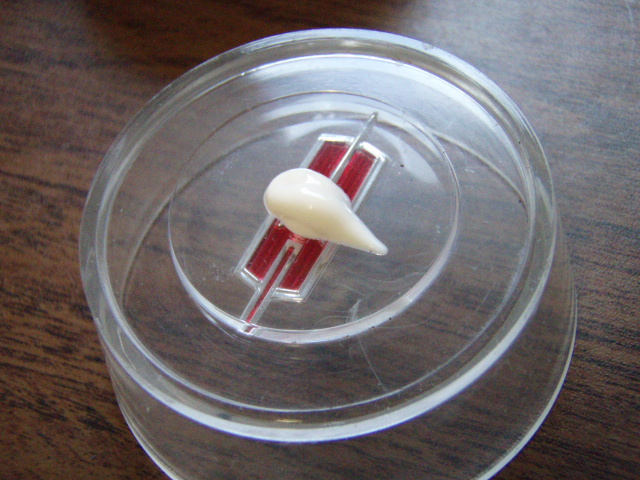
1. Take a good look at how the plastic insert is facing.
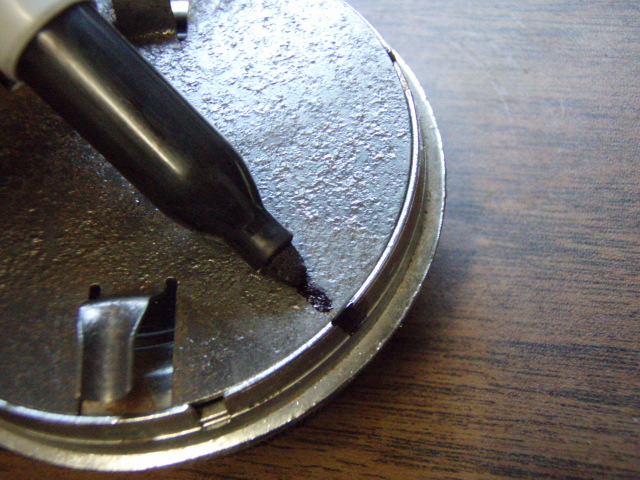
2. Before you start pulling it apart, take the time to make a reference mark. This will come in handy when it's time to put it back together.
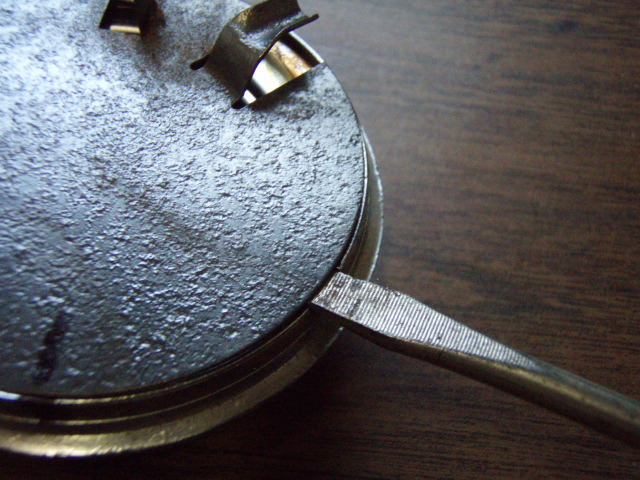
3. Next take a thin bladed screwdriver and gently work the retaining plate out of the ring.
4. With the retainer removed, mark the decorative inner plate at the same point and remove it also.

| ||||
| ||||
If you have a good tip, share it with all of us. It will be appreciated.
12
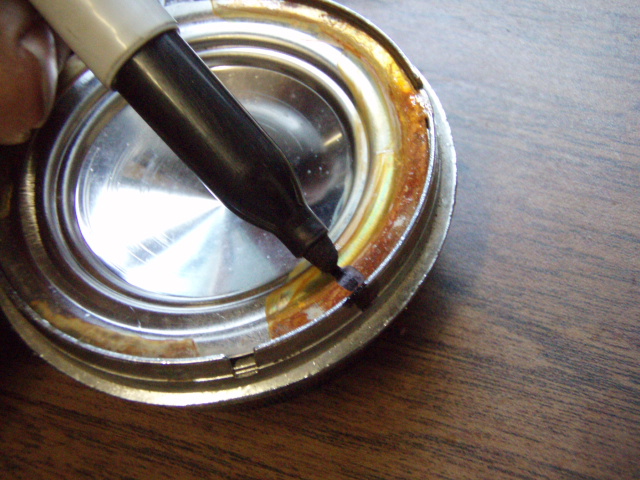
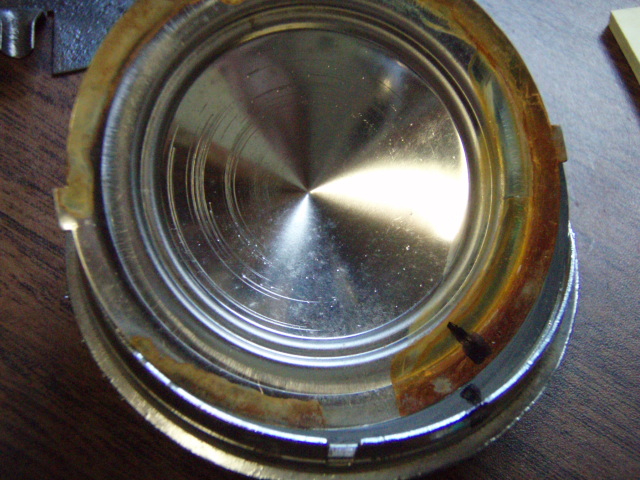
6. While you have the lens out, take the time to polish it. Using a lite polishing compound will make it look like new.
Note: Normally the insides are very clean, but in the event it needs polished, Do Not use compound on the painted emblem. It may remove the paint and ruin your piece.
5. Lastly mark the clear plastic lens in the same spot.
| ||||
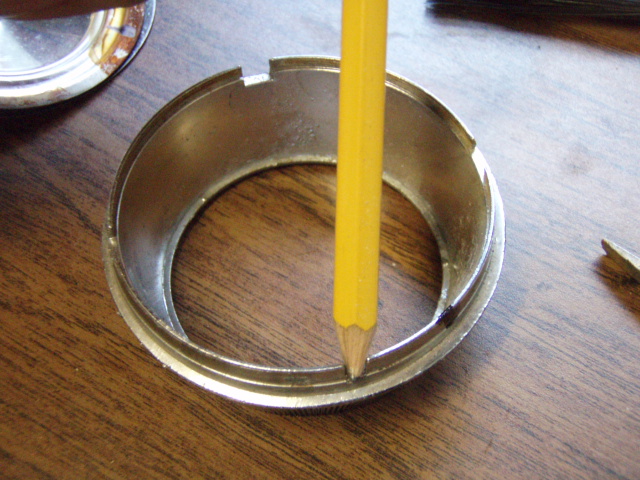
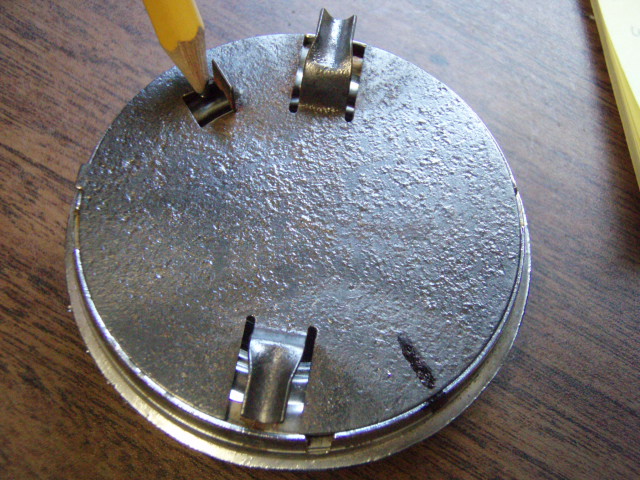
7. To re-assemble locate the small notch in the ring and place it at 6 o'clock ( indicated by the pencil ).
| ||||
| ||||
| ||||
6
8. To reinstall the decorative plate, align the notches at the 3 & 9 o'clock positions. ( use the marks you made earlier to verify the position )
3
9
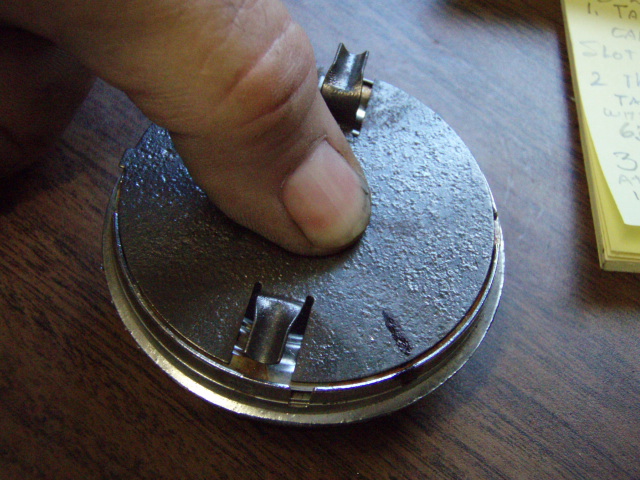
9. Now lay the retainer plate in with the tab at 9 o'clock. This should position the square hole at 11 o'clock.
9
11
10. Lastly push in the center until you hear it snap into place. That's it! It should look good as new and when placed back into steering wheel, the emblem should be perpendicular to the horn bar. ( If it is upside down, the either the horn bar or the steering wheel is upside down. BR[]