 | ||||
| ||||
| ||||
1. Starting point: my main housing (4) has a cracked tab on the right side. This caused the entire guts to come out when I was trying to take out my dash harness. Not being able to find a replacement required me to figure out a reassembly process, hoping I had all the pieces.
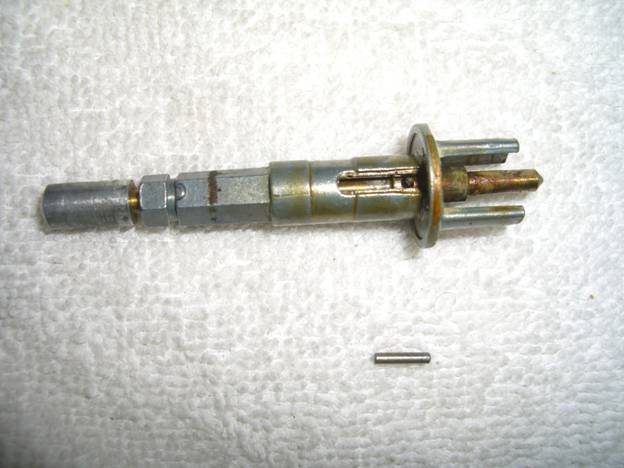
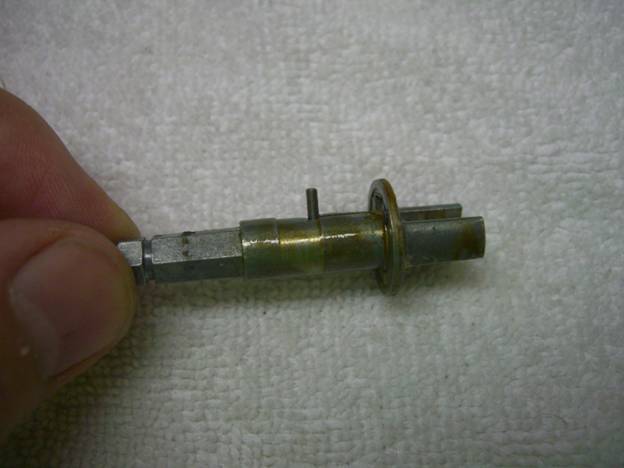
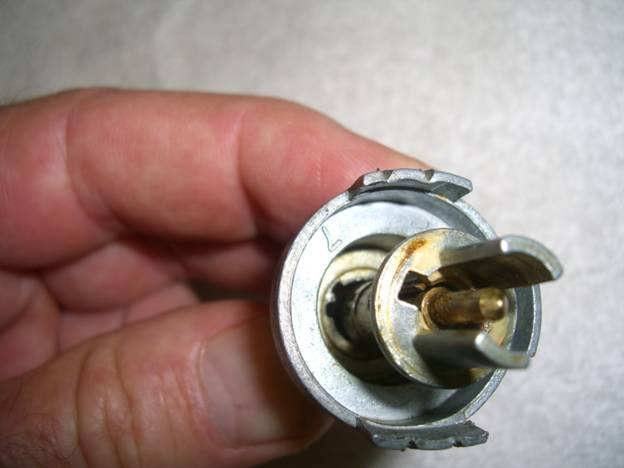
2. The center shaft (1) is 2 pieces that run through the center of the main housing (4). I did not try to separate them. It looks like a press fit. A critical element of the shaft is the tiny pin (3). This keys into to slot area of the main housing (4) and regulates the speed control of the switch.
3. Slide the pin into the shaft and then insert this shaft into the main housing (4). It is not tight fit. There are notches in the main housing (4) for the pin to slide into.

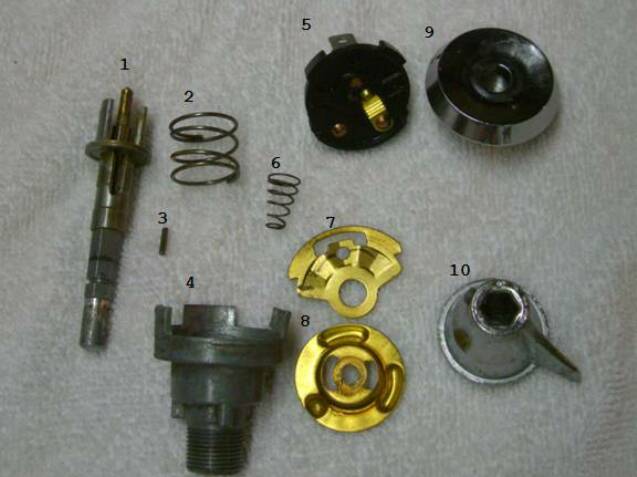
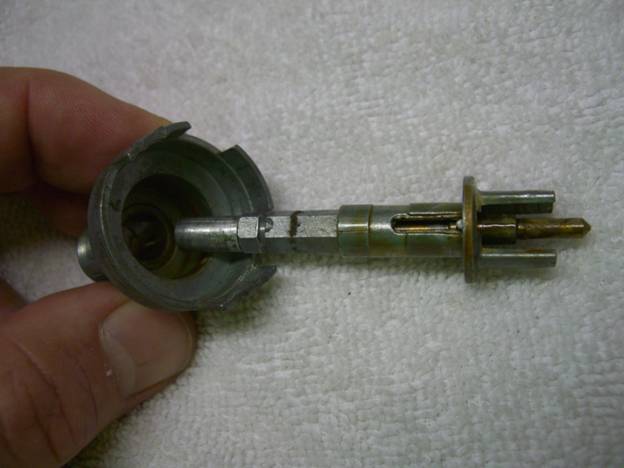
4. Now with the base set together it is a simple ordered reassembly. The prongs on the center shaft (1) key into the round metal contact disk (8) and will only go one way. The final electrical connector (5) will only fit one way on the main housing (4) as well.
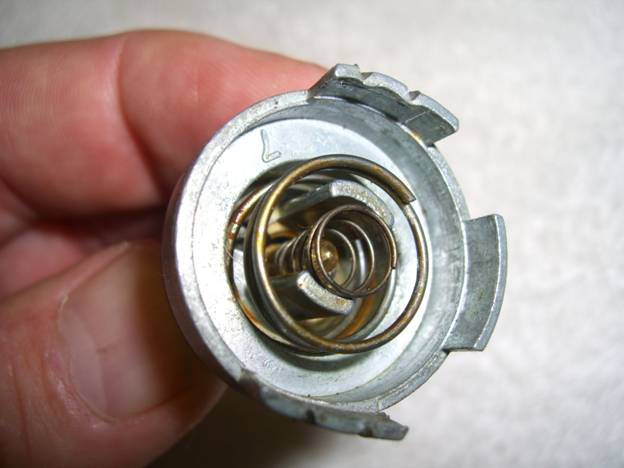
Insert small tapered spring (6) with small end down on the center shaft. Insert large spring (2) around the shaft prongs.
| ||||
| ||||
| ||||
| ||||

If you have a good tip, share it with all of us. It will be appreciated.
.
| ||||
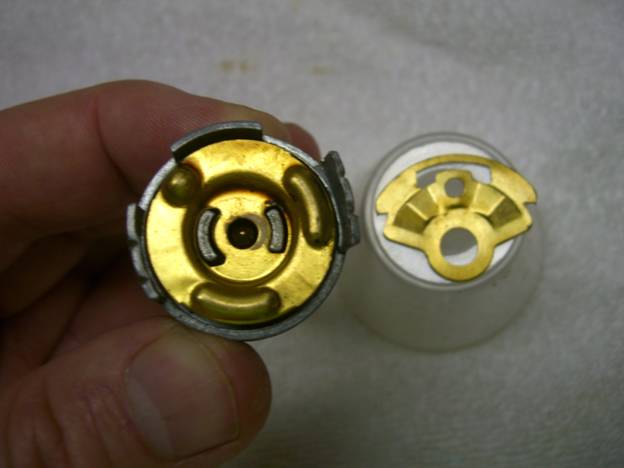
5. Now you are ready to install the contact disks (8) & (7). (You can see the broken bottom tab)
Disk (8) goes on with bumps out and will only go over shaft one way.
6. The second contact (7) goes over disk (8) and keys into the main housing. This disk fits over the center tab on the housing. Again only one way but with the bump side out.
When things are lined up correctly you can press the disk in to verify that everything sits flush. You should be able to press the squirter post and have it spring back and feel the speed dentent as you turn the base of the center shaft (1).
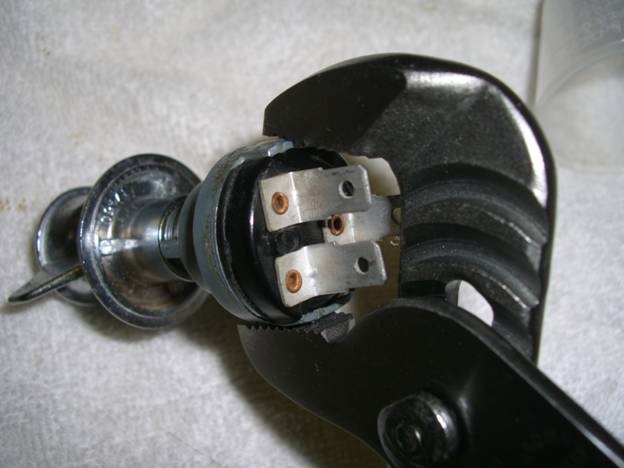
7. I screwed on the bezel (9) and the selector switch (10)
The remaining part is the electrical connector(5). This will only engage the main housing one way. When things are lined up I used a channel lock to press the tabs back in place.
Thanks to: Scott Falconer for the detailed description & pictures.